English
Views: 0 Author: Site Editor Publish Time: 2022-05-04 Origin: Site


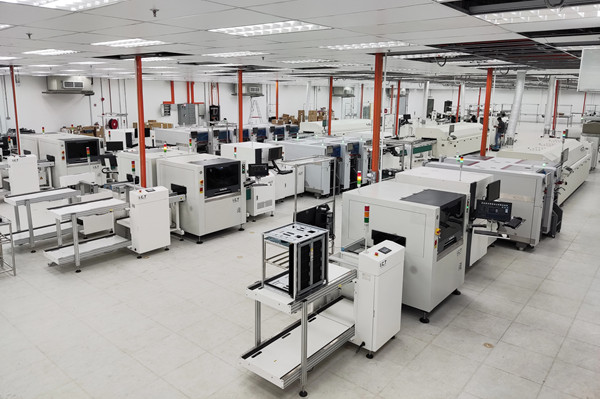
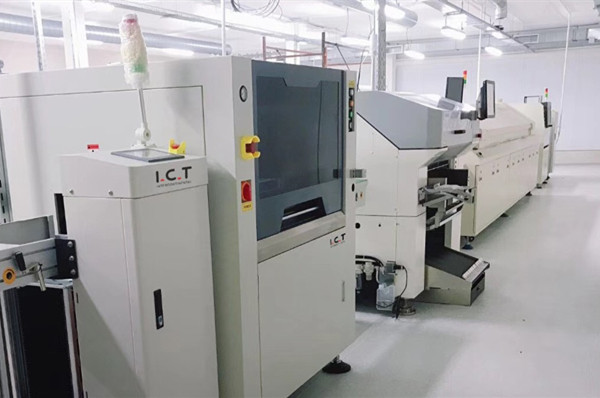
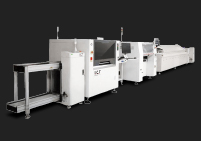
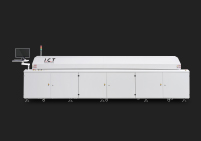
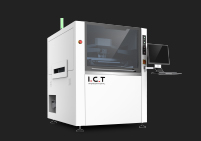
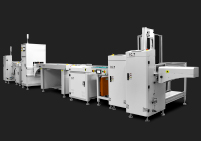
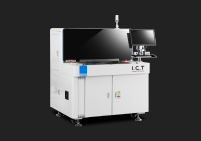
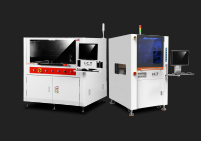
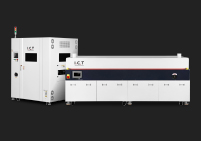
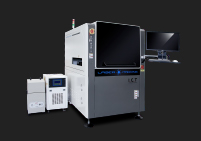
Full-auto SMT Stencil Printer is the front-end equipment of SMT complete line equipment. It is one of the three mainstream components in the SMT industry. SMT Stencil Printer is divided into semi-automatic and fully automatic. At present, most mainstream factories use Full-auto SMT Stencil Printer. Because the overall technology of the Full-auto SMT Stencil Printer industry has been relatively mature, a number of well-known brands have emerged both at home and abroad. Let me introduce the working process of the Full-auto SMT Stencil Printer.
This is the content list:
l What are the specific workflows of Full-auto SMT Stencil Printer?
l What are the production steps of Full-auto SMT Stencil Printer?
l What are the precautions when using Full-auto SMT Stencil Printer?

① The PCB is fed into the Full-auto SMT Stencil Printer by the automatic loading machine along the conveyor belt
② Full-auto SMT Stencil Printer finds the main edge of the PCB and locates it
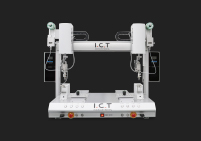
③ The Z-frame moves up to the position of the vacuum plate
④ Add vacuum to fix the PCB in a special position
⑤ The vision axis slowly moves to the first target of the PCB
⑥ The Full-auto SMT Stencil Printer camera looks for the mark point under the corresponding steel mesh
⑦ The machine moves the printed stencil to align it with the PCB, and the machine can move the stencil in the X and Y axis directions and in the spindle direction
⑧ The stencil is aligned with the PCB, the Z-frame will move upward, and the PCB touches the lower part of the stencil
⑨ Once moved into place, the squeegee will push the solder paste to roll on the stencil and print it on the PCB's PAD position through the holes in the stencil.
⑩ When the Full-auto SMT Stencil Printer is printed, the Z-frame moves downward to drive the PCB and the stencil to separate
11 Full-auto SMT Stencil Printer sends PCB to the next process
12 Full-auto SMT Stencil Printerthen receives the next PCB to be printed.
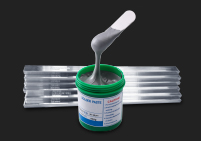
Fix the stencil to the Full-auto SMT Stencil Printer and debug OK, then assemble the clean squeegee on the automatic solder paste printer.
Use a solder paste stirring knife to add the solder paste to the stencil. The first time the solder paste is added is about 1cm, and the width is 1.5 to 2cm. The length depends on the length of the PCB. Both sides are about 3cm longer than the printed area. It should not be too long or too short. Add solder paste every two hours, about 100 grams of solder paste.
Put the PCB board in for printing, check the 5PCS before printing, and start production after confirming that the printing quality is normal.
In the normal printing process of Full-auto SMT Stencil Printer, the operator needs to check the printing effect once within half an hour to see if there are any defects such as lack of tin, continuous tin, sharpening, shifting, missing printing, etc., and the pins are too dense The printing effect of the components is mainly checked.
The stencil needs to be cleaned every 5PCS printed. If there are components with too dense pins on the PCB board, the cleaning frequency needs to be increased, and cleaned once without 3PCS.
Full-auto SMT Stencil Printer is generally composed of board loading, solder paste, imprinting, and circuit board transfer. Solder paste printing is a complicated process, which is prone to some defects and affects the quality of the final product. Therefore, you need to pay attention to related matters when using Full-auto SMT Stencil Printer.
① In the production process of Full-auto SMT Stencil Printer, if continuous 3PCS printing is found to be bad, the technician should be notified to debug and clean the badly printed PCB.
② When cleaning poorly printed PCB boards, do not directly scratch the PCB surface with hard objects to prevent scratching the PCB surface circuits
③ PCBs with gold fingers should avoid gold fingers, wipe them repeatedly with dust-free paper and a little alcohol, blow dry with an air gun, and check under a magnifying glass to ensure that there is no residual solder paste.
④ During the normal printing process of Full-auto SMT Stencil Printer, it is necessary to check whether the solder paste has overflowed regularly and collect the overflowed solder paste.
⑤ After the production of the Full-auto SMT Stencil Printer is finished, accessories and tools such as solder paste, scrapers, steel mesh, etc. shall be recovered, and the fixtures and fixtures shall be cleaned.
⑥ The first process in the SMT process of solder paste printing. Most of the defects in the SMT process are caused by improper operation of the Full-auto SMT Stencil Printer.
⑦ The correct operation process is the key to ensuring printing quality. I hope that the above Full-auto SMT Stencil Printer production operation process can help you.